
How to wear lip liner with lip gloss: shape first, shine second
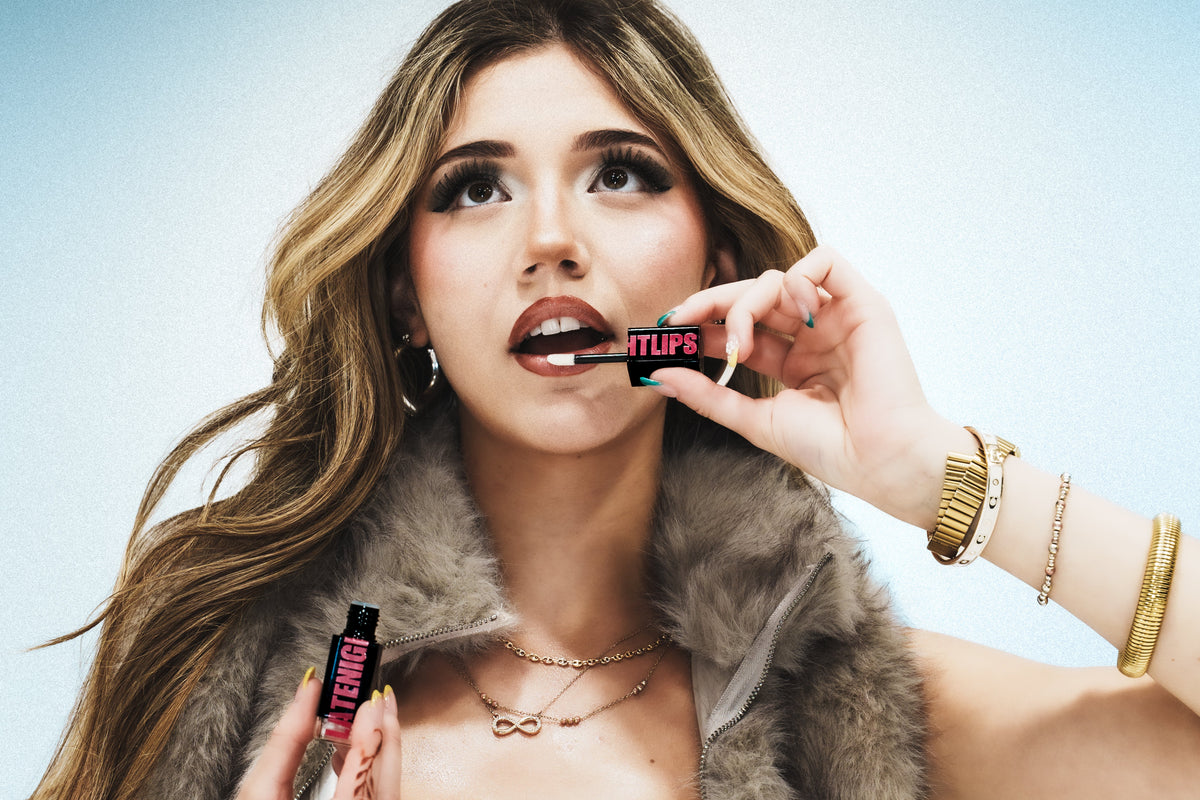
Apply lip liner before lip gloss. Trace the shape you want, soften the liner’s inner edge, then place a small amount of gloss inside the outline. That order gives you more control than trying to draw a clean line over a slippery layer of gloss.
The important choice isn’t just which brown pencil to buy. It’s whether you want the liner to disappear into your lip colour or remain part of the look. A soft outline and a deliberately darker rim need different placement—even with the same gloss.
Choose your liner-and-gloss combination
Start with the contrast you want:
- Soft definition: choose a liner close to your natural lip colour and a clear or softly tinted gloss.
- A visible brown outline: choose a brown liner that creates the contrast you want, then blend its inner edge rather than leaving a hard band.
- Colour across the whole lip: shade lightly inside the outline before adding gloss, or choose a tinted gloss instead of a clear one.
Match the pencil to your lips and the intended look, not only to a skin-tone label. Natural lip colour can differ across the upper lip, lower lip and outer edge. You don’t have to erase those differences to wear a lined lip well.
For the top layer, Green & Jaded adds a clear base with pearlescent shimmer. Prefer a tint? Our brown gloss guide explains how to choose the colour and coverage. Choose the liner first for definition, then the gloss for the finish you want on top.
Two liner options worth comparing
For a pencil approach, Fenty Trace’d Out is a sharpenable liner with a brand-described velvet-matte finish. Fenty’s instructions are to trace the outline, lay the pencil on its side to fill, then press the lips together to set. Choose the shade separately from the formula; the product name alone won’t tell you how much contrast it will create on your lips.
For a softer contour, Rhode Peptide Lip Shape is described by Rhode as creamy, soft-focus colour. The brand suggests following the outline or filling the lips entirely. That makes it a useful option to compare when your aim is a diffused border rather than a sharply drawn one.
If you already have a pencil you like, start there. Blend the outline before adding gloss, and follow the pencil’s instructions if it needs time to set.

What you need
Keep the kit small: a lip pencil, a gloss, a mirror and a clean tissue. A clean lip brush is useful if you want to soften the pencil without using the gloss applicator to do the blending.
Follow your pencil’s instructions for sharpening or twisting it up. You want enough control to make short marks without pressing hard or dragging the lip.
Step 1: start without excess product on the lips
Remove leftover makeup and blot away excess balm before lining. The aim is a surface you can draw on—not dry, stripped lips.
If your lips are sore or cracked, don’t scrub them smooth for a makeup look. Let comfort take priority. Stop using any product that stings or irritates rather than adding more layers to cover the feeling.
Step 2: draw the outline in short strokes
With your mouth relaxed, follow your natural lip border in short sections. Begin where the shape is easiest for you to see, then connect the marks. Check both sides with your lips relaxed before sharpening or deepening anything.
For a first attempt, stay at the natural border. You can experiment with a different shape later; there’s no need to combine a new liner, a new gloss and heavy overlining in the same first pass.
Keep the mouth corners tidy. A large deposit of pencil at the corners can make the outline look heavier than you intended.
Step 3: blend the inner edge before adding gloss
Soften the edge of the pencil that faces the centre of your lips, using a clean lip brush or the pencil’s blending tool if it has one. Keep the outer border as defined as you want it.
For a subtle look, make the transition from liner to bare lip gradual. For more contrast, leave the outer colour visible while softening only the inner edge. You’re choosing a transition, not trying to make every lined lip look the same.
If you want more colour in the centre, shade a little farther inward with the pencil before moving on. Use light pressure; a heavy layer isn’t required just because gloss is going on top.
Step 4: add gloss inside the outline
Start with a small amount in the centre, then spread it toward the edges without repeatedly dragging the applicator through the liner. Add more only where you want more shine.
With clear shimmer, the liner and natural lip colour remain important parts of the look. With a tinted gloss, the top layer also changes the colour between the edges. If you’re unsure which effect you prefer, the clear-shimmer guide explains what a transparent pearly layer adds.
There’s no need to coat the skin outside the lip border. Gloss over an overdrawn edge can make that edge more noticeable rather than less.
Step 5: check the result before adding another layer
Look straight ahead, then turn your face slightly. Check the corners, the inner edge of the liner and whether there is more gloss in one area than another. If you pressed your lips together, check the outline again afterward.
For an uneven spot, remove or soften that spot first. Adding more gloss over everything can make a small correction harder.
Troubleshooting your lip combo
Why does my liner look like a dark ring?
The difference between the liner and the centre may be stronger than you wanted. Blend the liner a little farther inward, choose a closer shade next time, or use a tinted rather than clear top layer. A visible outline is also a valid look; the question is whether the contrast is deliberate.
Why does my liner move when I apply gloss?
The top layer and repeated applicator strokes can disturb the colour beneath. Try less gloss and fewer passes across the border. Follow any setting instructions for your specific liner. A long-wearing liner can still move under gloss, so avoid rubbing across the edge.
How do I reapply without making a mess?
Check what is left before starting again. Blot excess product, repair the outline only where it needs it, then add a light layer of gloss. If the layers have become uneven, a clean restart may look better than another full coat.
Do I need lipstick between liner and gloss?
No. Liner and gloss can be the whole look. Add lipstick only if you want more colour or coverage in the centre; it isn’t a required step.
Your Uber may be outside, but one mirror check is still worth it. For a clear pearlescent top layer, try Green & Jaded. Still deciding between an oil and a gloss? Compare their finishes and uses before adding another product.
Keep reading: How to apply lip gloss · How to make your lips look fuller with gloss
